Adding a Rental License
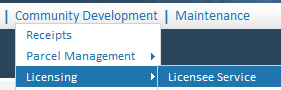
Navigate to Add Licensee:

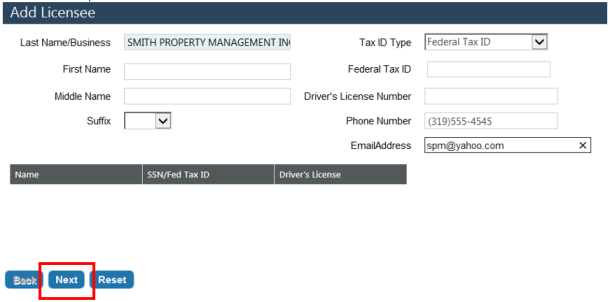
Enter the Landlord in the Last Name/Business field. If the Landlord is a person put the last name in the Last Name/Business field and the first name in the First Name field. Enter a phone number and email if desired. Click Next when finished.
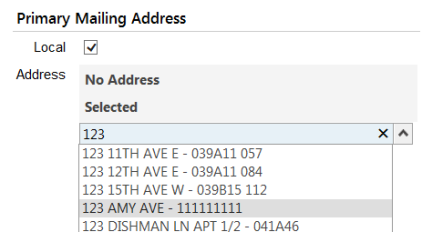
Enter the Licensee’s Mailing Address. If local you can start typing in the drop-down box and the system will search the Central Service Address list for your address:
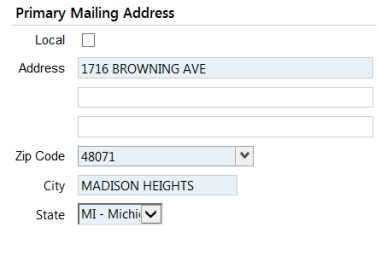
If the mailing address is outside of town, deselect the Local box and enter the address manually. The Zip Code will fill the city and state automatically. In the rare occasion that it does not, enter the city and state manually.
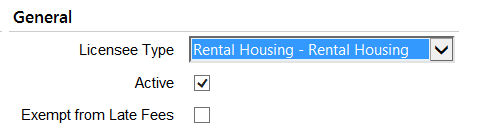
Under the General header, select Rental Housing in the licensee type drop-down. This will classify your landlord as such making high level reporting easier. Ignore the Active and Exempt boxes.
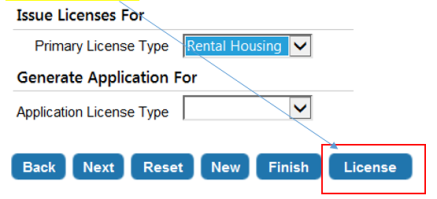
Under the Issue Licenses For header, select 3-YR Rental or 5-YR Rental. In this example, I am using the general term Rental Housing to represent my License Type. Ignore the Application Type drop-down
CRITICAL: Click License, do not click Next. Clicking License will speed up the entry process significantly.
Note: If you do click NEXT, we can still manage the license entry, albeit in a more roundabout way
Once the Licensee and mailing address data is entered the system will prompt the user to enter the name of the Business (In this case the Landlord plus the physical address of the property) and then the physical address will be entered under the Business Address header.
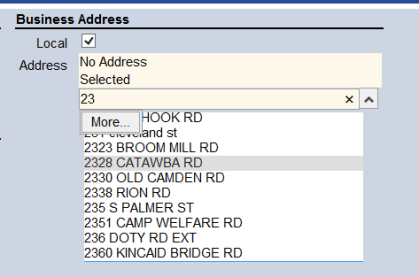
For fastest entry, under the Business Address header, click the Local check box and find your local address by typing the address in the drop-down field:
Once selected copy and paste this address into the Business Name field, next to the Landlord, separated by a hyphen.
Change the Start of Business Date to 1/1/1900 to allow for predated inspections.
Ignore all other fields under the General header. Click Next when finished.

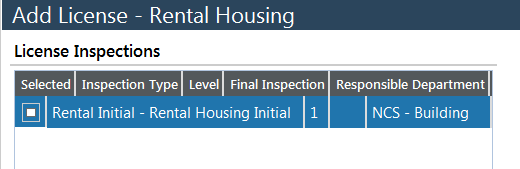
We have formalized the license process to insure that the initial rental housing inspection is done before the Rental License can be issued. Formalizing the licenses allows for us to use a License Inspection. A license inspection is an inspection that is done during the Application Process only. Once it passes, it allows the license to be issued and the inspection is never used again on that license. That said, when entering current Landlords for initial data entry, we will ignore this inspection given that these Landlords are already licensed.
We will leave the Rental Initial check box unchecked during the data entry process. This will allow users to bypass it and issue the license accordingly. After go-live, we will then require this inspection so that the box will be checked automatically, saving the user a step.
Regardless, for Manual Landlord entry, leave the box unchecked and click Next.
Given that the Landlords that you are entering already have licenses for the most part we have to be particularly careful when entering the effective date. With the New World software, when we define that a license is MULTI-YEAR, the system gives the user the ability to create different durations for that license in whole number increments up to a defined maximum number of years.
We will use the 3-year license for this example. That said, the user is ABLE to create licenses of 1, 2 or 3 years when prompted with the Effective Date page.
Note: This feature cannot be changed from its current incarnation. The process simply has to be learned keeping in mind that an accidental 1 or 2 year license can be inactivated and the proper 3 or 5 year license created appropriately.
This page will look like this when first encountered: The effective date will be TODAY’S date and the expiration date will default to the 1-YEAR duration.
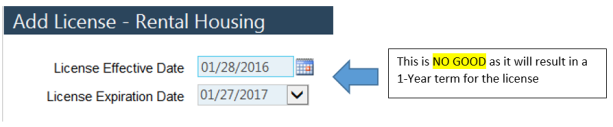
CRITICAL: You must back date the effective date to the original issue date and select the 3-Year option to get the duration correct. Once the 3-year duration is locked in the license can be renewed only in 3-year increments. The duration cannot be changed on this license.
Note: If a 5-Year license is earned by a Landlord that has a 3-Year license, the 3-Year license must be inactivated and the 5-Year license created under the business (This will be discussed below).
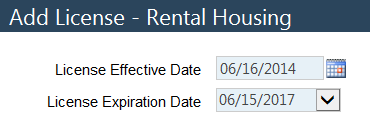
For example, say we have a 3-Year license that expires on 6/15/17. We need to backdate the License Effective Date to 6/16/14. Then the system will allow us to select 6/15/17 as an Expiration Date.

End result:
Click Finish and the system will take you to the Licensee Service (search engine) page.
Because we chose to formalize the license application and added the Initial Rental Inspection, the system requires us to approve the application prior to issuing the rental license just created.
Note: After go-live, we will of course result the Initial Rental inspection prior to approving the application. For the data entry period only, we will skip this step as indicated above.
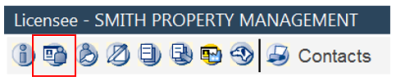
To access the License edit mode, highlight the Licensee and click the Edit pencil.
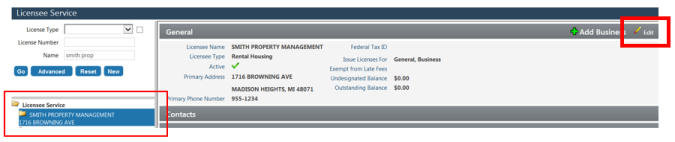
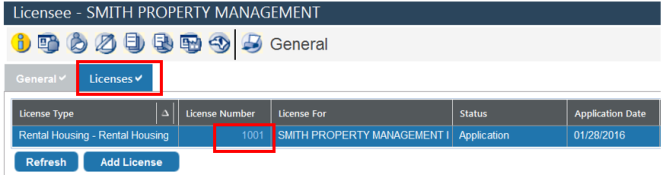
Click on the Licenses tab.
Click on the License Number to enter the License Edit mode.
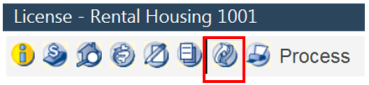
Click on the Process bubble.
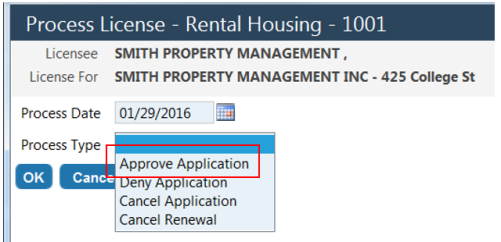
Click on the drop-down, select the Approve Application option and click OK.
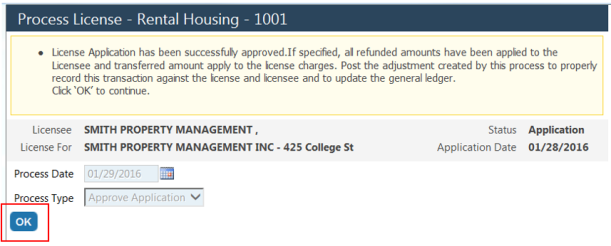
Click OK again to acknowledge the Successful Application Approval Message.
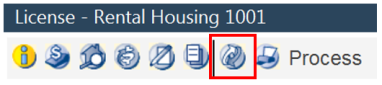
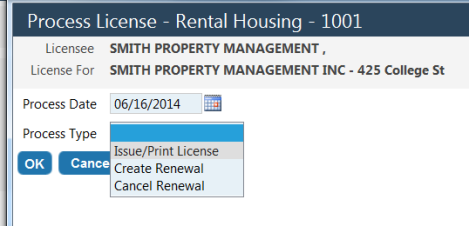
To Issue the license click on the Process bubble again.
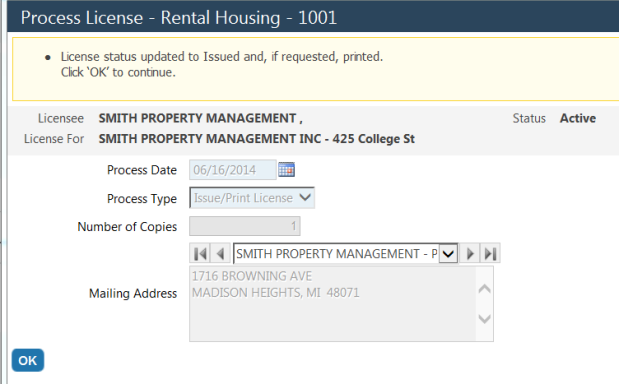
Click on the drop-down and select the Issue License option. If desired, you can backdate the Process Date to reflect the actual date if license issuance. Technically you can leave today’s date in this field. We can avoid printing the Issue Date on any License documentation and drive the communication using the expiration date of the license. Leaving in today’s date will certainly help speed up data entry. Click OK when finished.
Click OK again to acknowledge the License Issued Status update message.
The license will now reflect a status of Active, an Original Issue Date, and an Expiration Date.
![]()
The system requires that any Business Inspection (3-Yr Rental / 5-Yr Rental) that is to be done on a rental property on a recurring basis, be assigned to the Business. This is a one-time task, that once executed, will allow for the scheduling of that Inspection Type on that Rental Property forever. We will continue the workflow from the License Edit mode. This can be done at any time from the Business Edit mode.
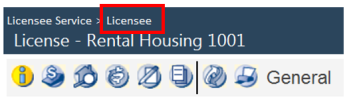
From the License Edit mode, click on the Licensee breadcrumb to go back to the License Edit mode.
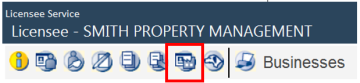
Click on the Businesses bubble to enter the Business Edit mode.
Click on the Inspection tab.

To assign an inspection type to the Business, click on the Inspection Type drop-down.
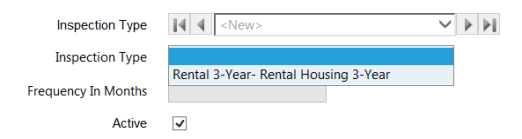
Select the Rental 3-Year Inspection and click Save. You may want to repeat this for the 5-Year Inspection so that it is available for that Rental Property in the future, however, given that 5-Year inspections are rare, you may want to skip this and add the 5-Year inspection as it is earned by the Landlord.
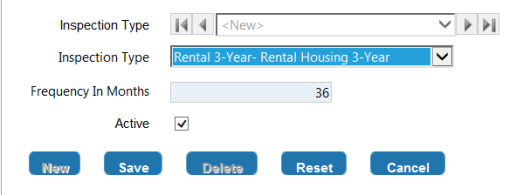
After clicking Save, you will notice that the New Inspection Request and Schedule Inspection buttons are now available.

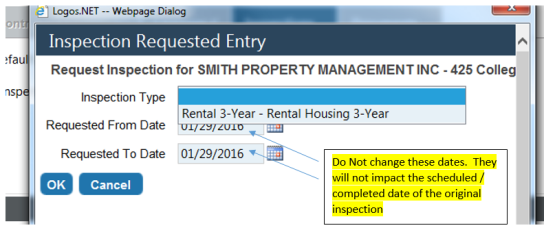
If you would like to track the last inspection that was done start by clicking on the New Inspection Request button.

Select the Inspection type and DO NOTHING with the Requested Dates. The requested dates have no impact on the ACTUAL SCHEDULED date. You do not want to waste time by changing these. Click OK when finished.
Now, we can use the Quick Result feature to enter a result (Pass/Fail) and any comments that might have been on the original inspection.
Note: You can create a chain of inspections when a number of them failed prior to the Landlord finally passing. Contact your support representative to discuss creating the chain.
In the example below, we will simply demonstrate how to pass an inspection.
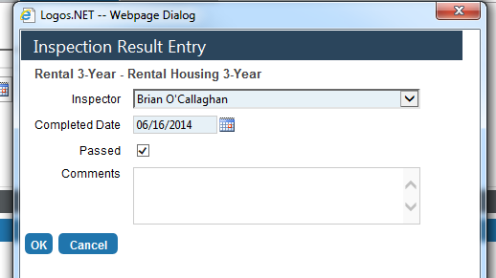
Click on the Inspection Type link to open the Inspection Result Entry window.

When the window opens, select the inspector, back date the completed date to the original inspection date, click the Passed button and enter any desired comments. Click OK when finished.
Your inspection date and status will be reflected on the on the inspection.

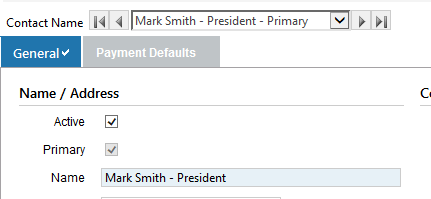
An unlimited number of contacts can be entered if desired. Click on the Contacts bubble.
Note that the licensee will default in the Name field. Feel free to change this name to a human being. Click on Save/New to enter more contacts. It is recommended that you enter the title of the contact after the name so that you can see the title in the contact drop-down list. For example:
Inevitably, a property management company or a Landlord with multiple rental properties will exist. Users will want to insure that multiple businesses are created under one licensee. You do not want to create multiple licensees for this it will impact your Licensee Search negatively.
To add a business to a licensee from Licensee Service:
Navigate to Licensee Service:
Search for your Licensee. When found, click on the file folder next to the name, opening the Licensee Directory.
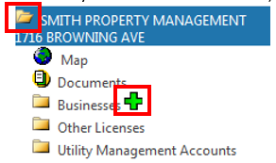
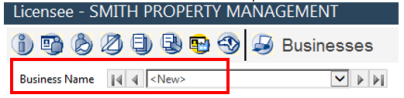
Next to the Businesses link you will see a plus sign. Clicking on this will transport you to the Businesses bubble in the Licensee Edit mode. When you arrive, the system will be ready for your next rental property entry as indicated by the word <New> listed in the Business Name drop-down.
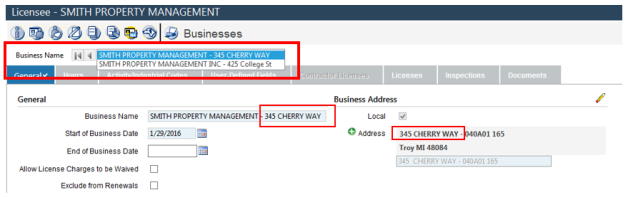
As discussed earlier, click the Local check box. Enter the local address where the new rental property is located. Copy and paste the address next to the Business Name. Leave the Start of Business Date alone. Lastly click Save.
When complete, there should be two businesses in the Business Name drop-down:
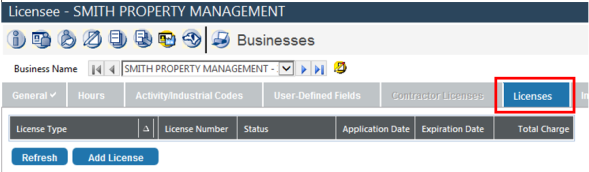
Next, you will need to create the Rental license for this business. Remain in the Business Edit mode and click the Licenses tab, insuring that the new business is visible in the Business Name drop-down.
Note: No rental license should be visible after clicking the Licenses tab. If one is visible click on the correct business in the drop-down.
To add a license to the new business click Add License.
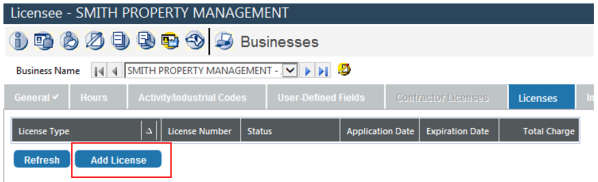
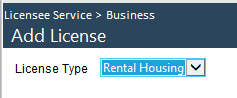
Select the appropriate License Type in the drop-down and click Next.
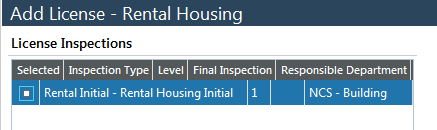
For initial data entry prior to go-live, be sure the Rental Initial Inspection box is unchecked and click Next.
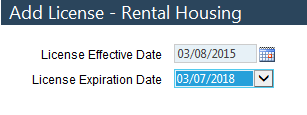
Be sure that that the effective date / expiration date is set on a 3 Year increment (or 5 Year for a 5 Year license)
Click finish when you have the date range correct.
From here, you will need to approve the license application and issue the rental license in the License Edit mode as indicated above.
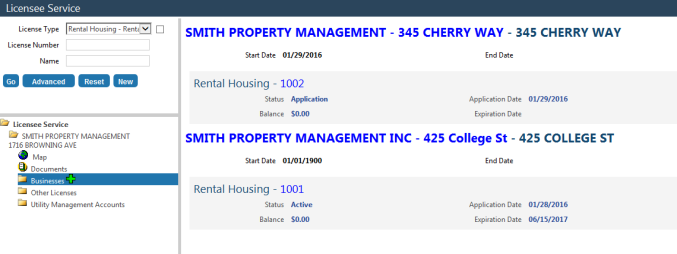
If all is well your Licensee tree should look as follows when searching in License Service.
After searching for Smith Property Management and highlighting the Businesses link you should see 2 businesses in the viewing area on the right. Thus, one licensee with 2 businesses (rental properties), each business with one Rental License.